Configuring SAML authentication in AxonOps Cloud
1. Go to "console.axonops.cloud"
Go to the AxonOps console and login as a user with superadmin rights. Open the SAML page by clicking the SAML link in the sidebar.

3. Click "Upload IdP Metadata XML"
Upload the IdP Metadata XML file that you downloaded from JumpCloud

4. Enter the IdP Entity ID
Fill in the text box with jumpcloud-axonops, this must match the IdP Entity ID entered in JumpCloud.

5. Enter the SP Entity ID
Enter https://axonops.com/saml/metadata in the SP Entity ID field

6. Click "SP Certificate"
Access the SP Certificate section.

7. Paste in your certificate
Paste the PEM-format certificate you generated in the prerequisites into the SP Certificate field

8. Click "SP Private Key"
Access the SP Private Key section.

9. Paste your private key
Paste the PEM-format private key you generated in the prerequisites into the SP Private Key field

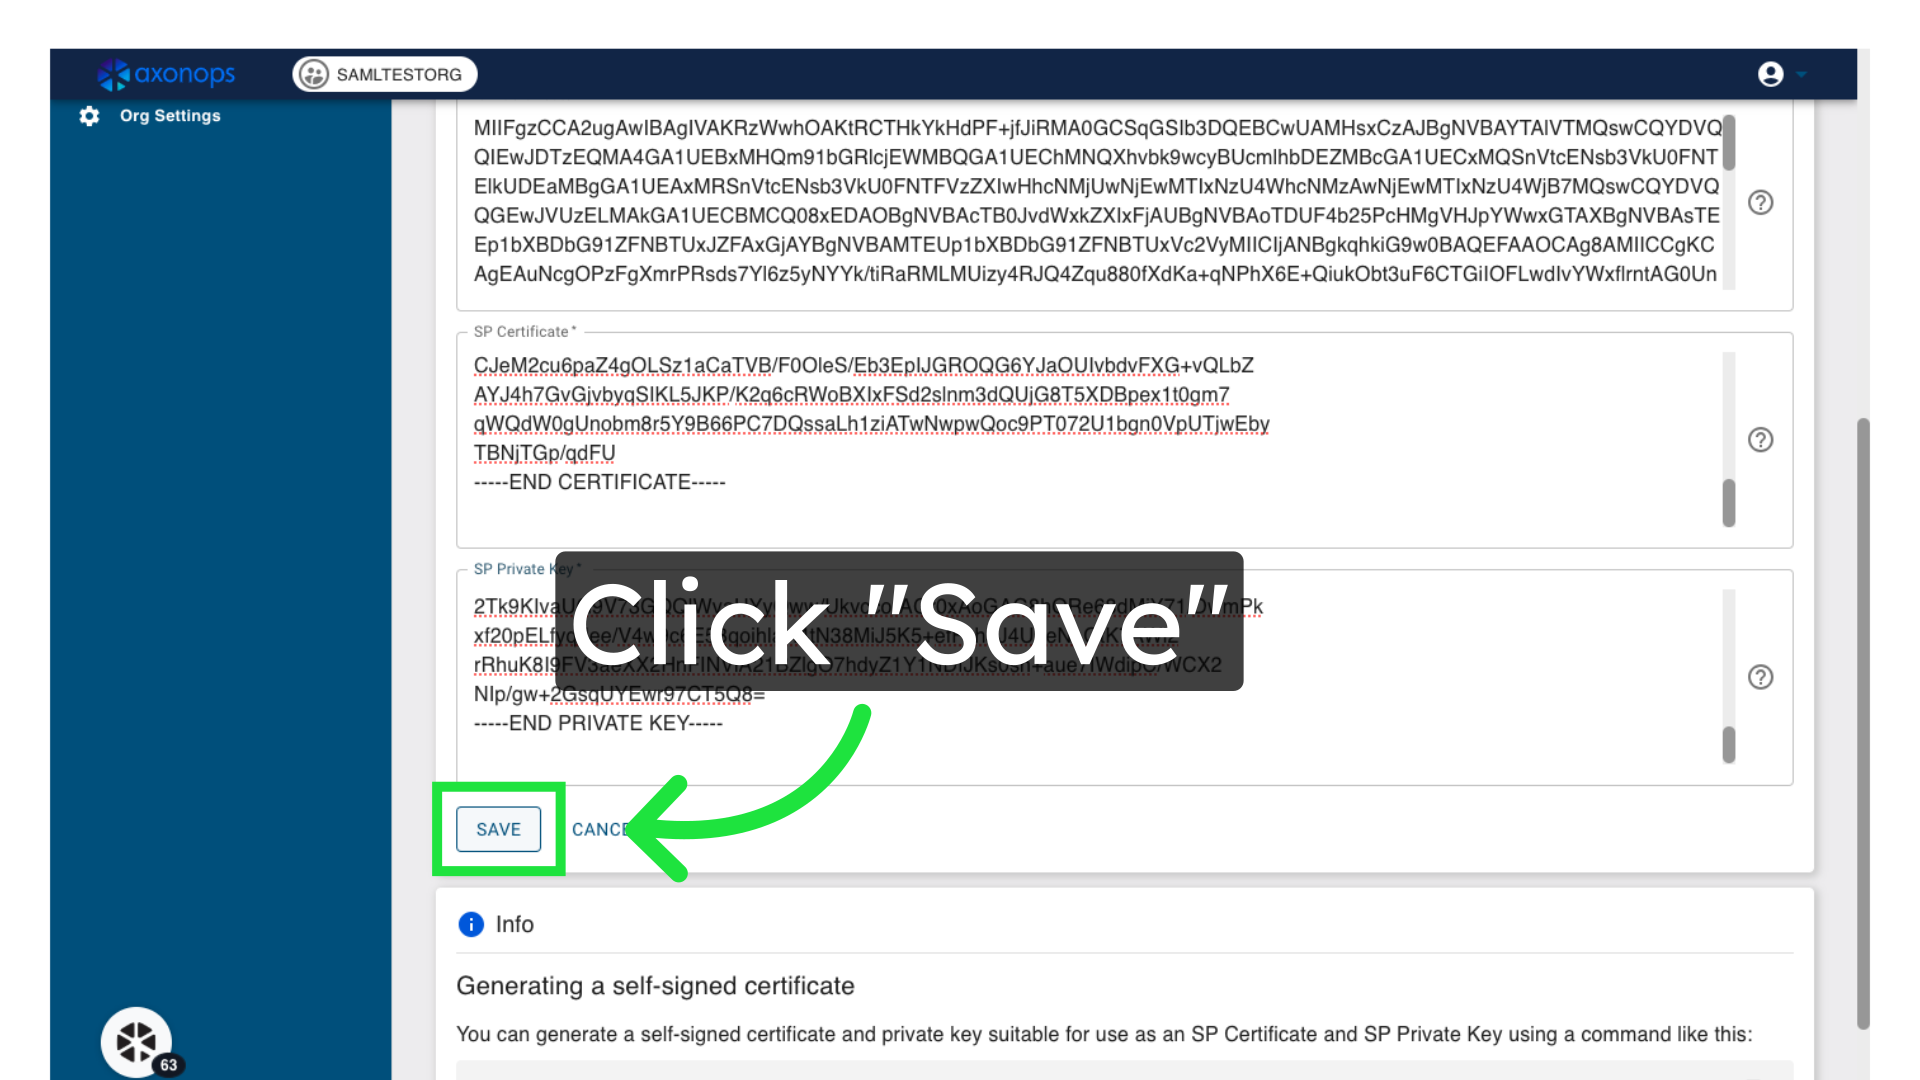
10. Click "Save"
Save the settings.